These Boots Are Made for Learning
By
Allanah Walker
Posted on
octobre 29, 2015
“This is the most dangerous part of the job,” Karen grins at me across the table, wielding an unforgiving bit of metal. “You learn to keep your fingers out of the way real quick.” Next to her, Bronwyn nods gravely, and I don’t doubt it. The prospect of bashing my thumbs with the lasting pincers (which look like a set of pliers that have been cross-bred with a hammer) is enough to keep me quite happy with my desk job.
Contrary to what one might think, I am not in some dark and dismal chamber in the bowels of the theatre but in a brightly light room with a cheerful pink sign on the door that reads "Paradise Lost.” This is one of the theatre production workshops where our resident summer Boots and Shoes team distress, paint, take apart, or create from scratch all of the footwear that treads the boards of our theatres.
On this particular occasion, practicum participant Bronwyn Pel is pre-lasting a pair of children’s leather boots under the tutelage of faculty member and professional cordwainer, Karen Beames. This is the moment when the various pieces of leather come together and start to really look like something you could actually wear. They kindly invited me to come down and see how it was done.
Step One:
Soak the pre-stitched boot in water to allow the leather to bend and stretch.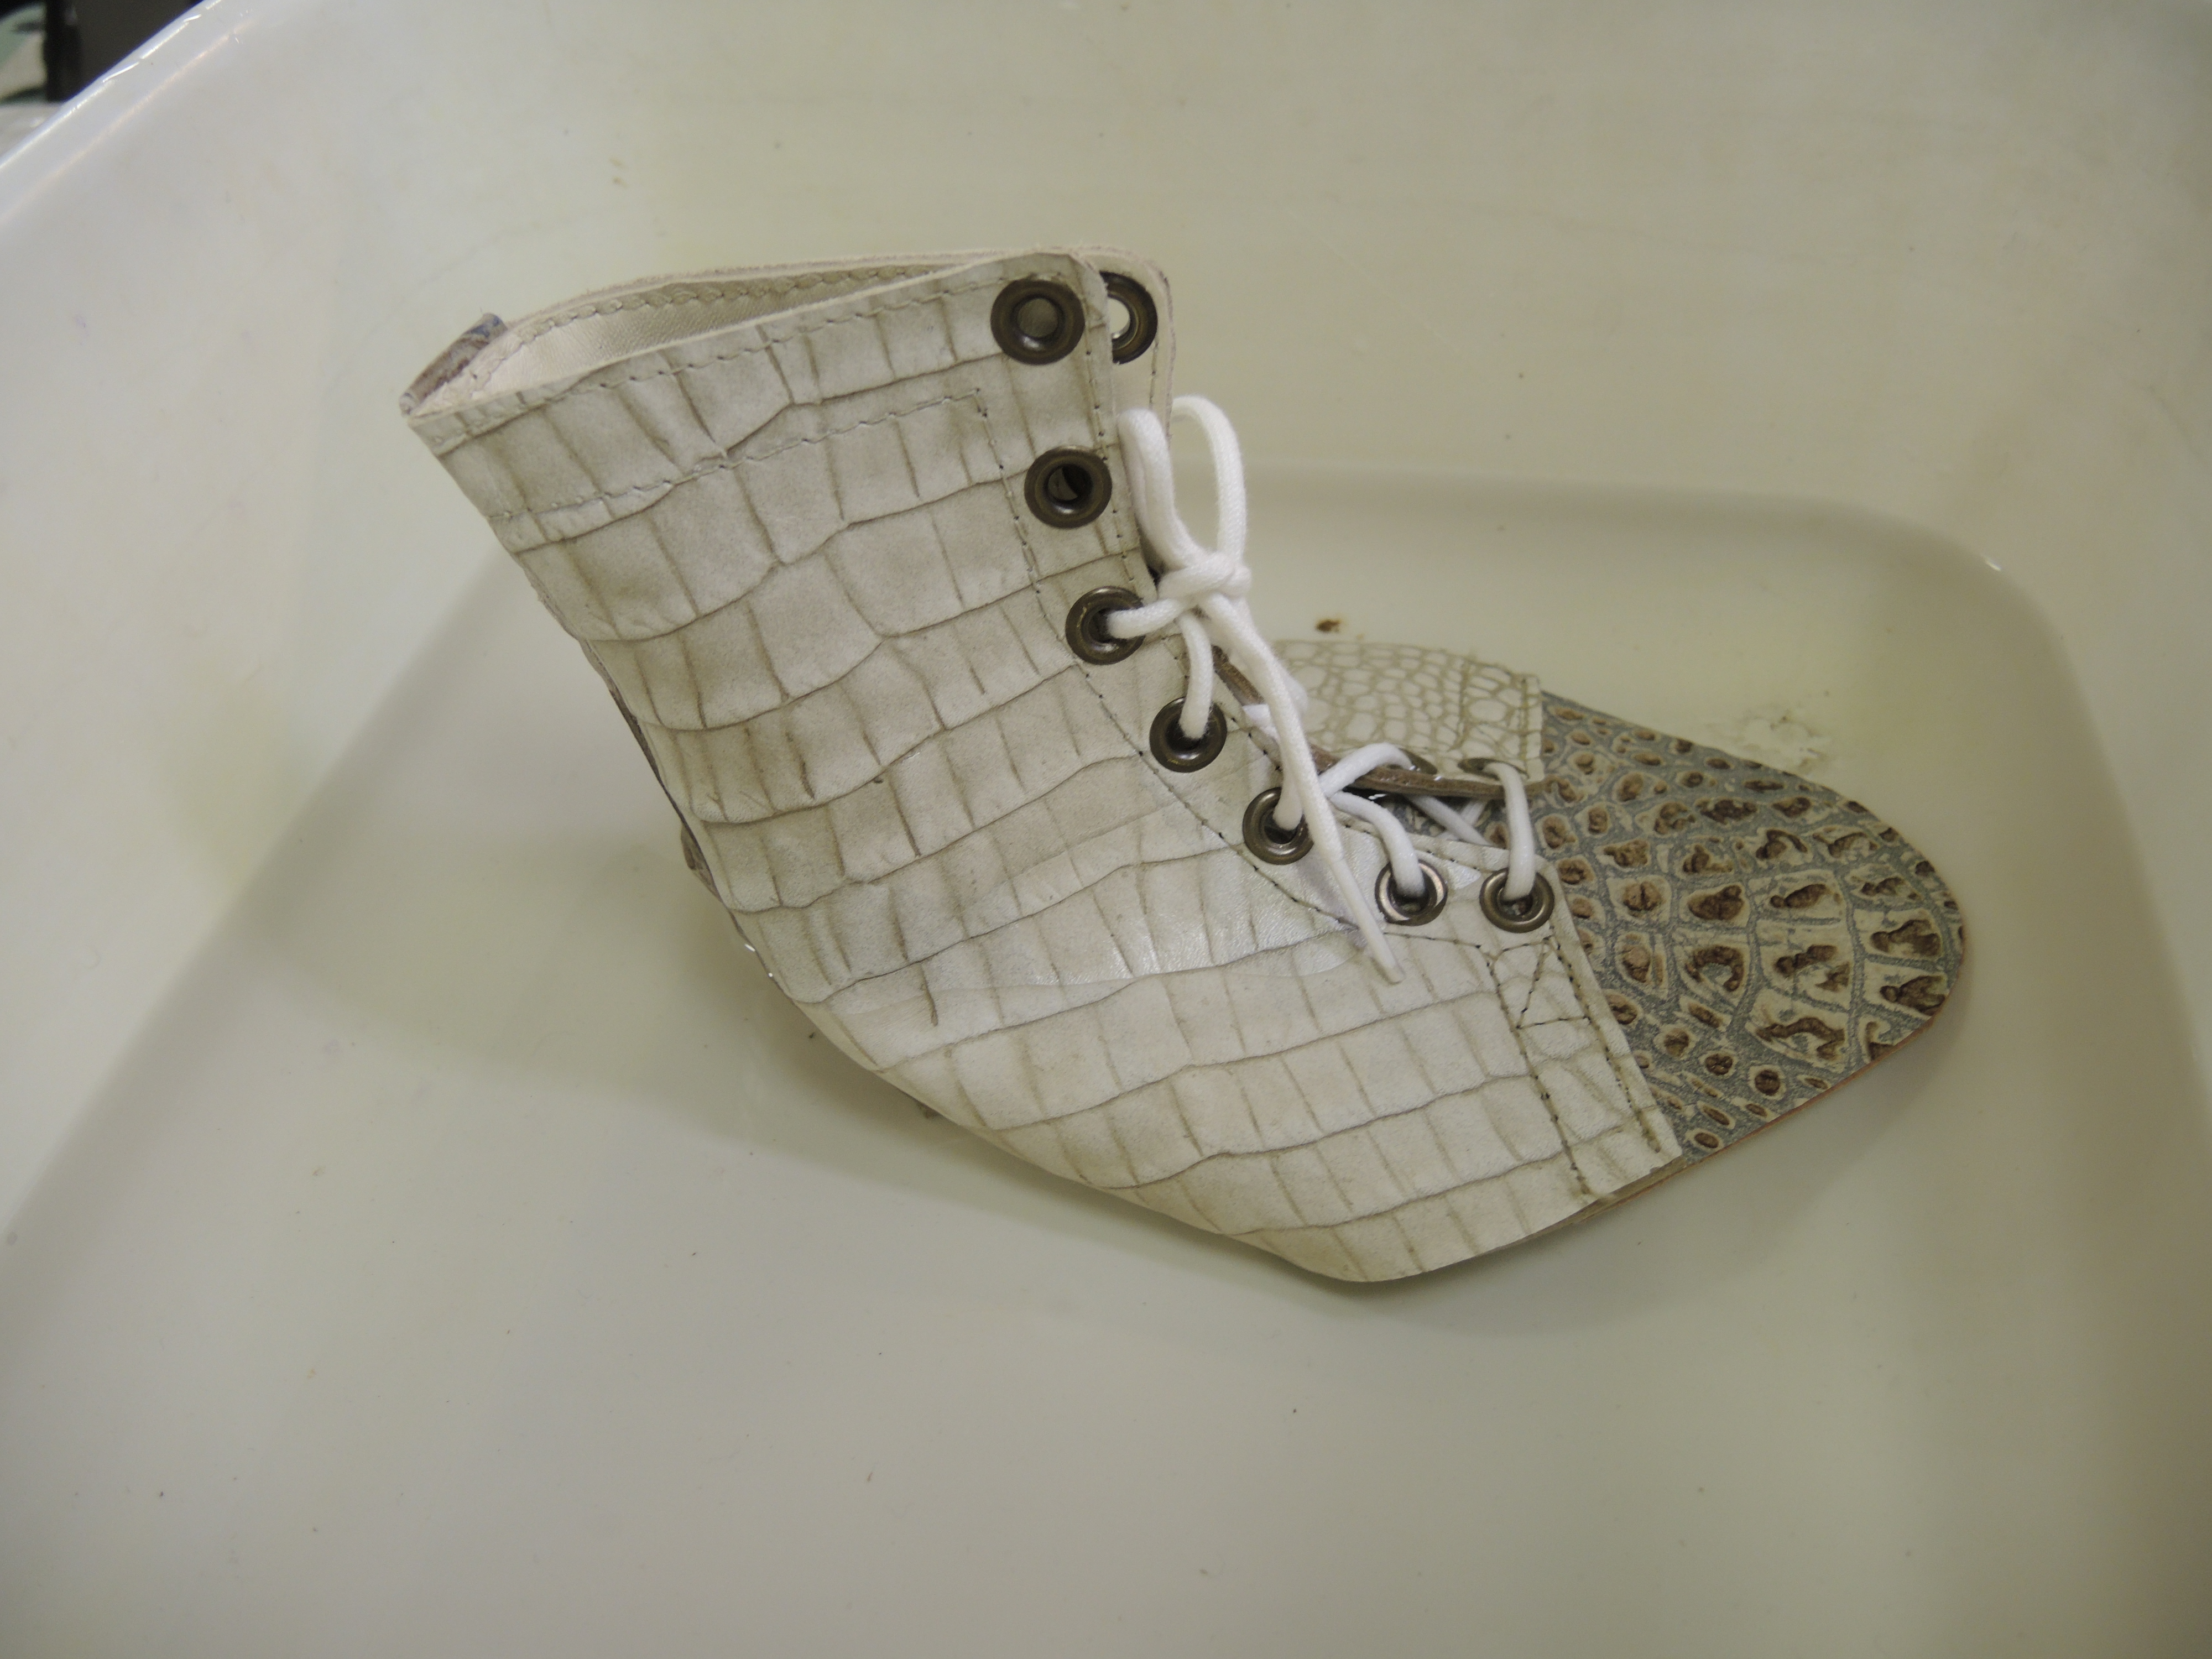
A pre-stiched boot soaks in water prior to being shaped on a last.
Step Two:
Insert your last (that's a wood and metal form) inside the boot.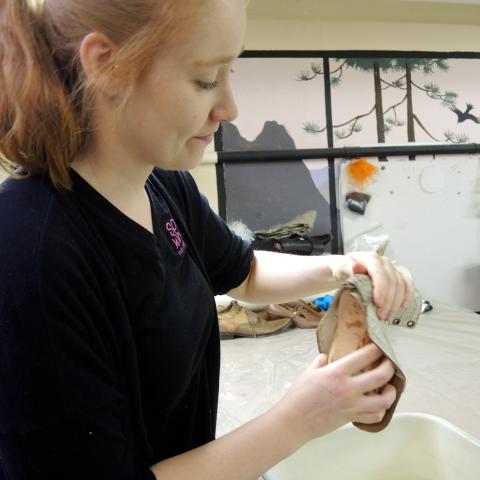

Step Three:
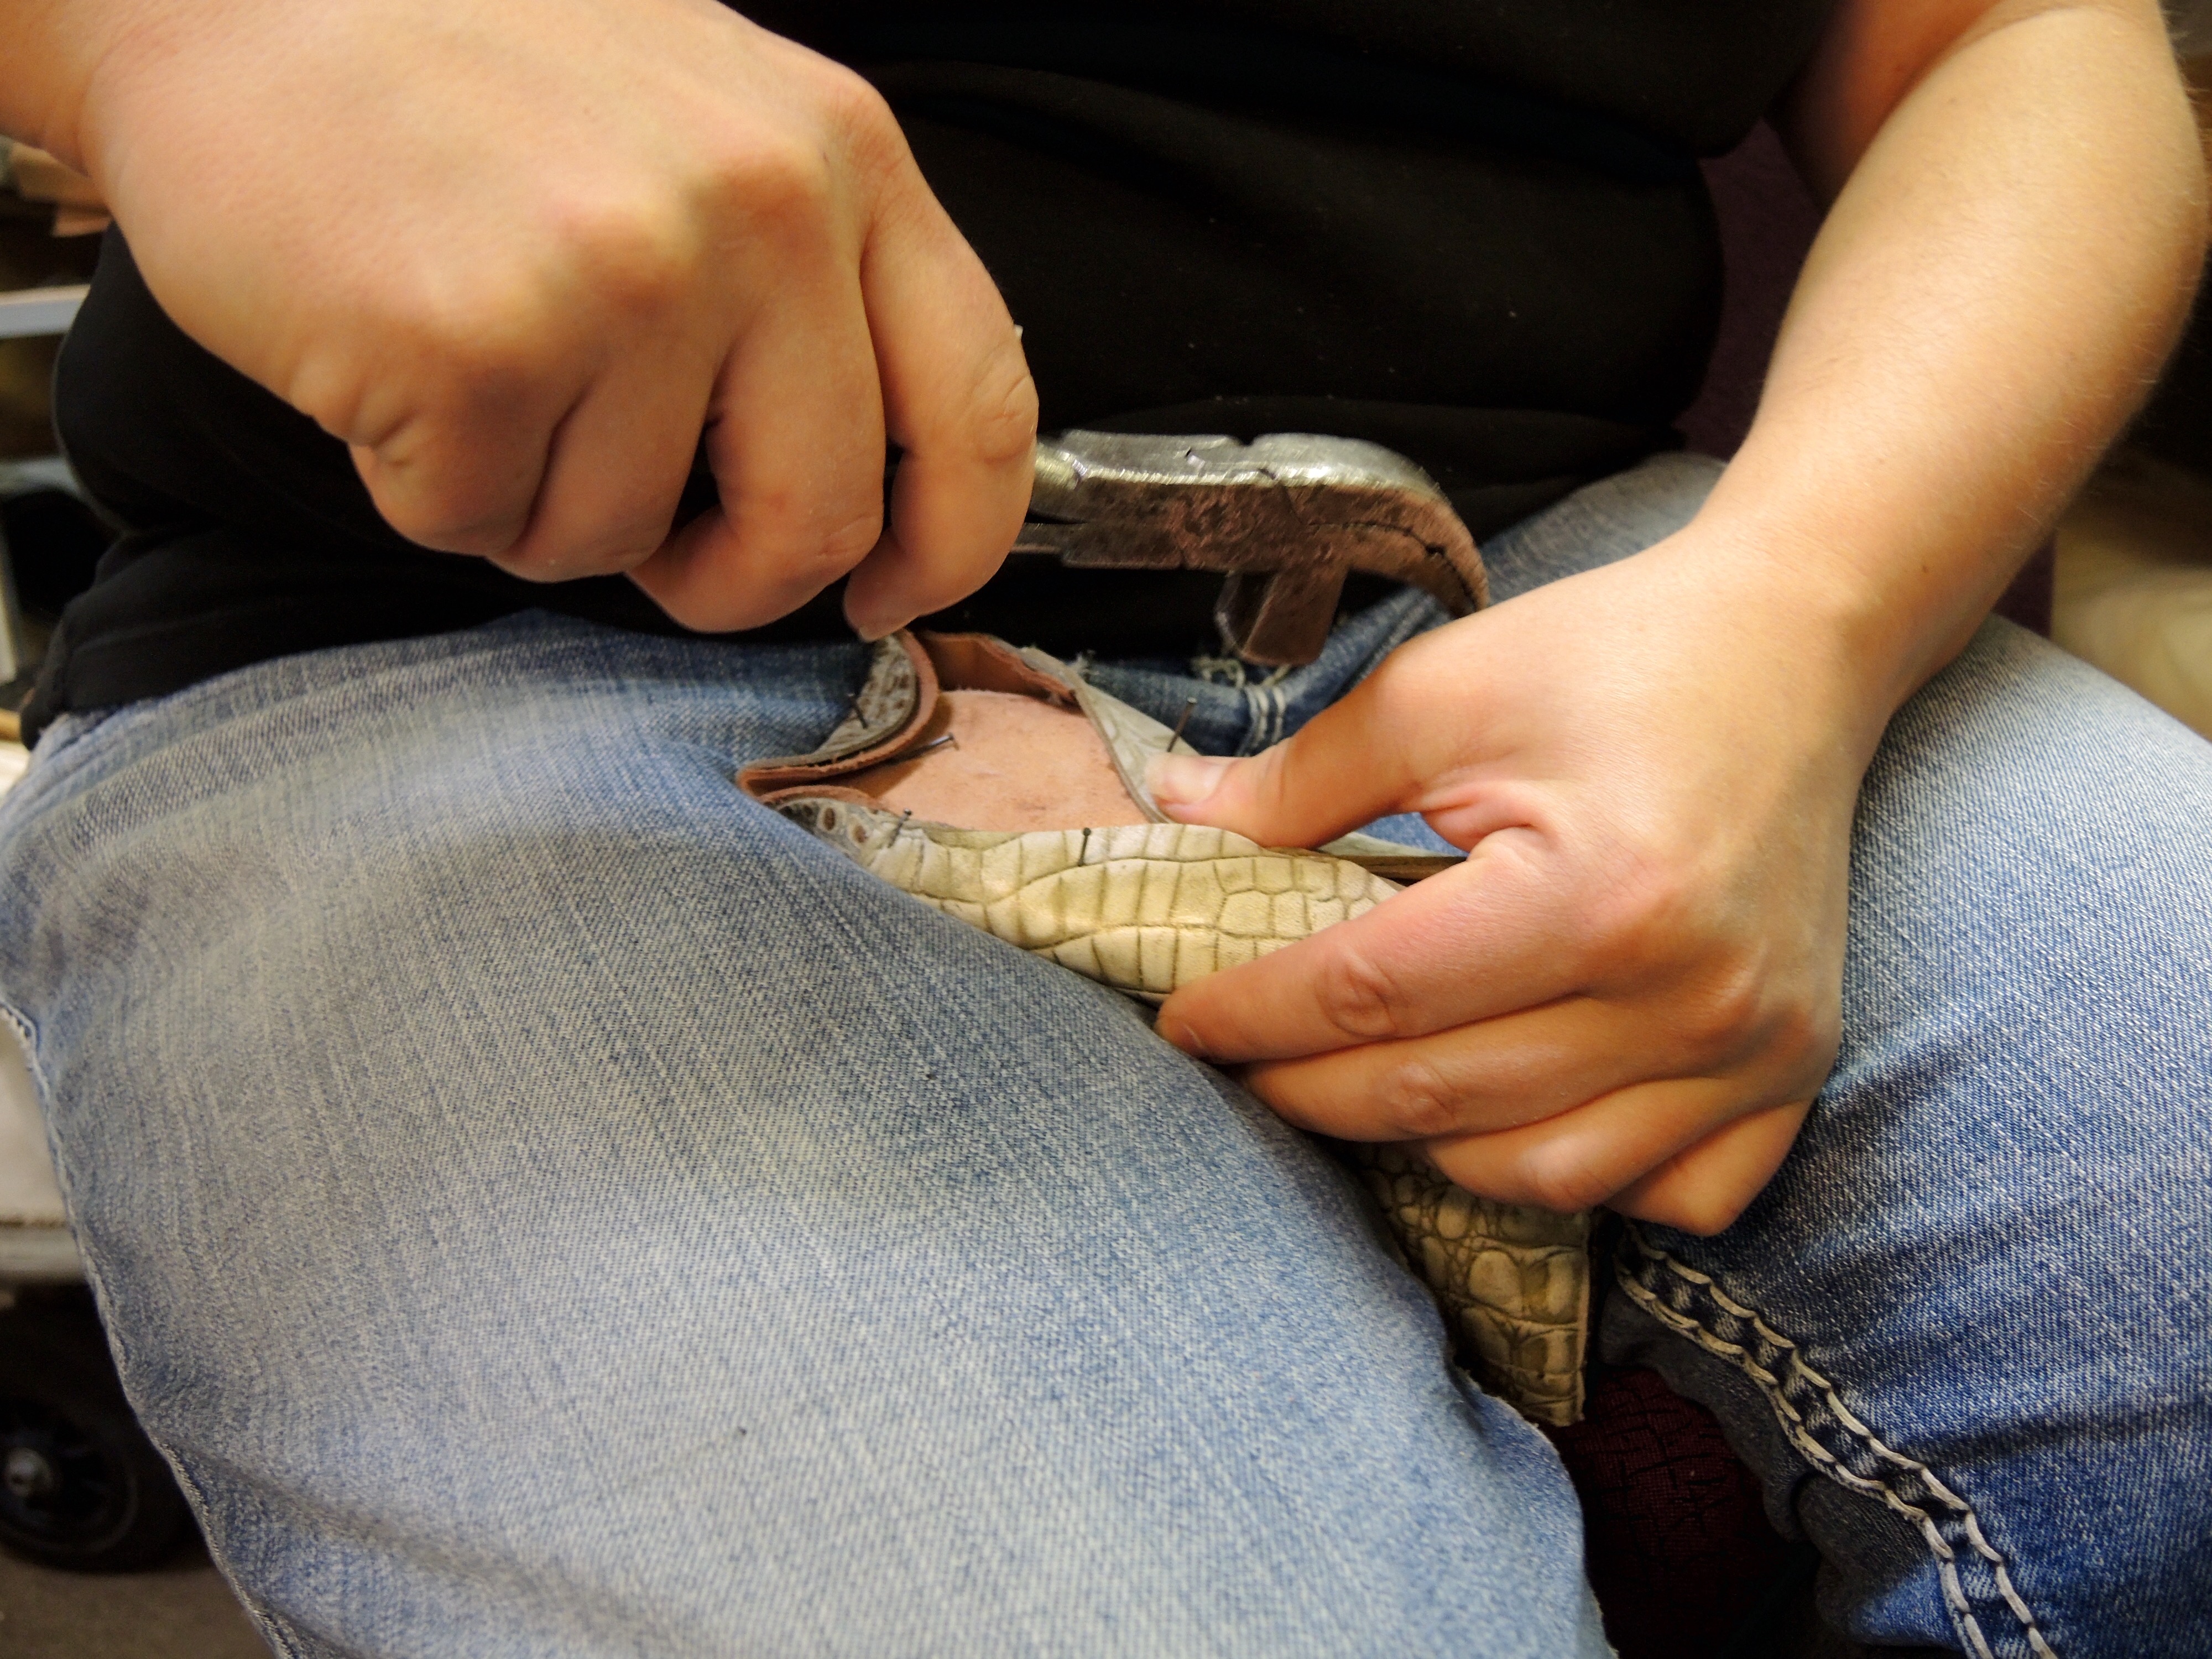
Working carefully to keep the shoe from becoming crooked, nail the leather to the bottom of the last at even intervals, making progressively smaller folds as you go around until there are a hundred tiny folds in the leather and it fits the last perfectly.
It takes a surprising amount of force to get the nails into the wooden last, hence Karen's initial warning about keeping track of your digits.
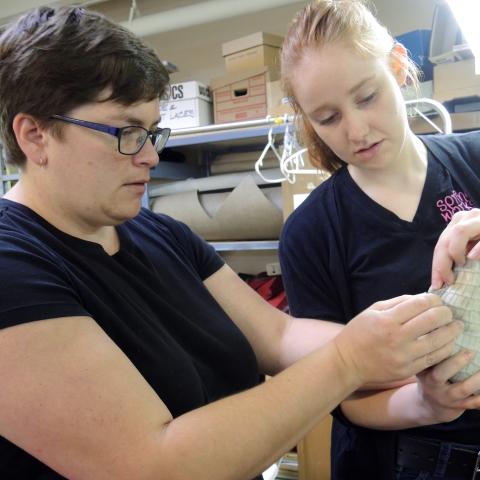
Karen starts by securing the large sections to the last
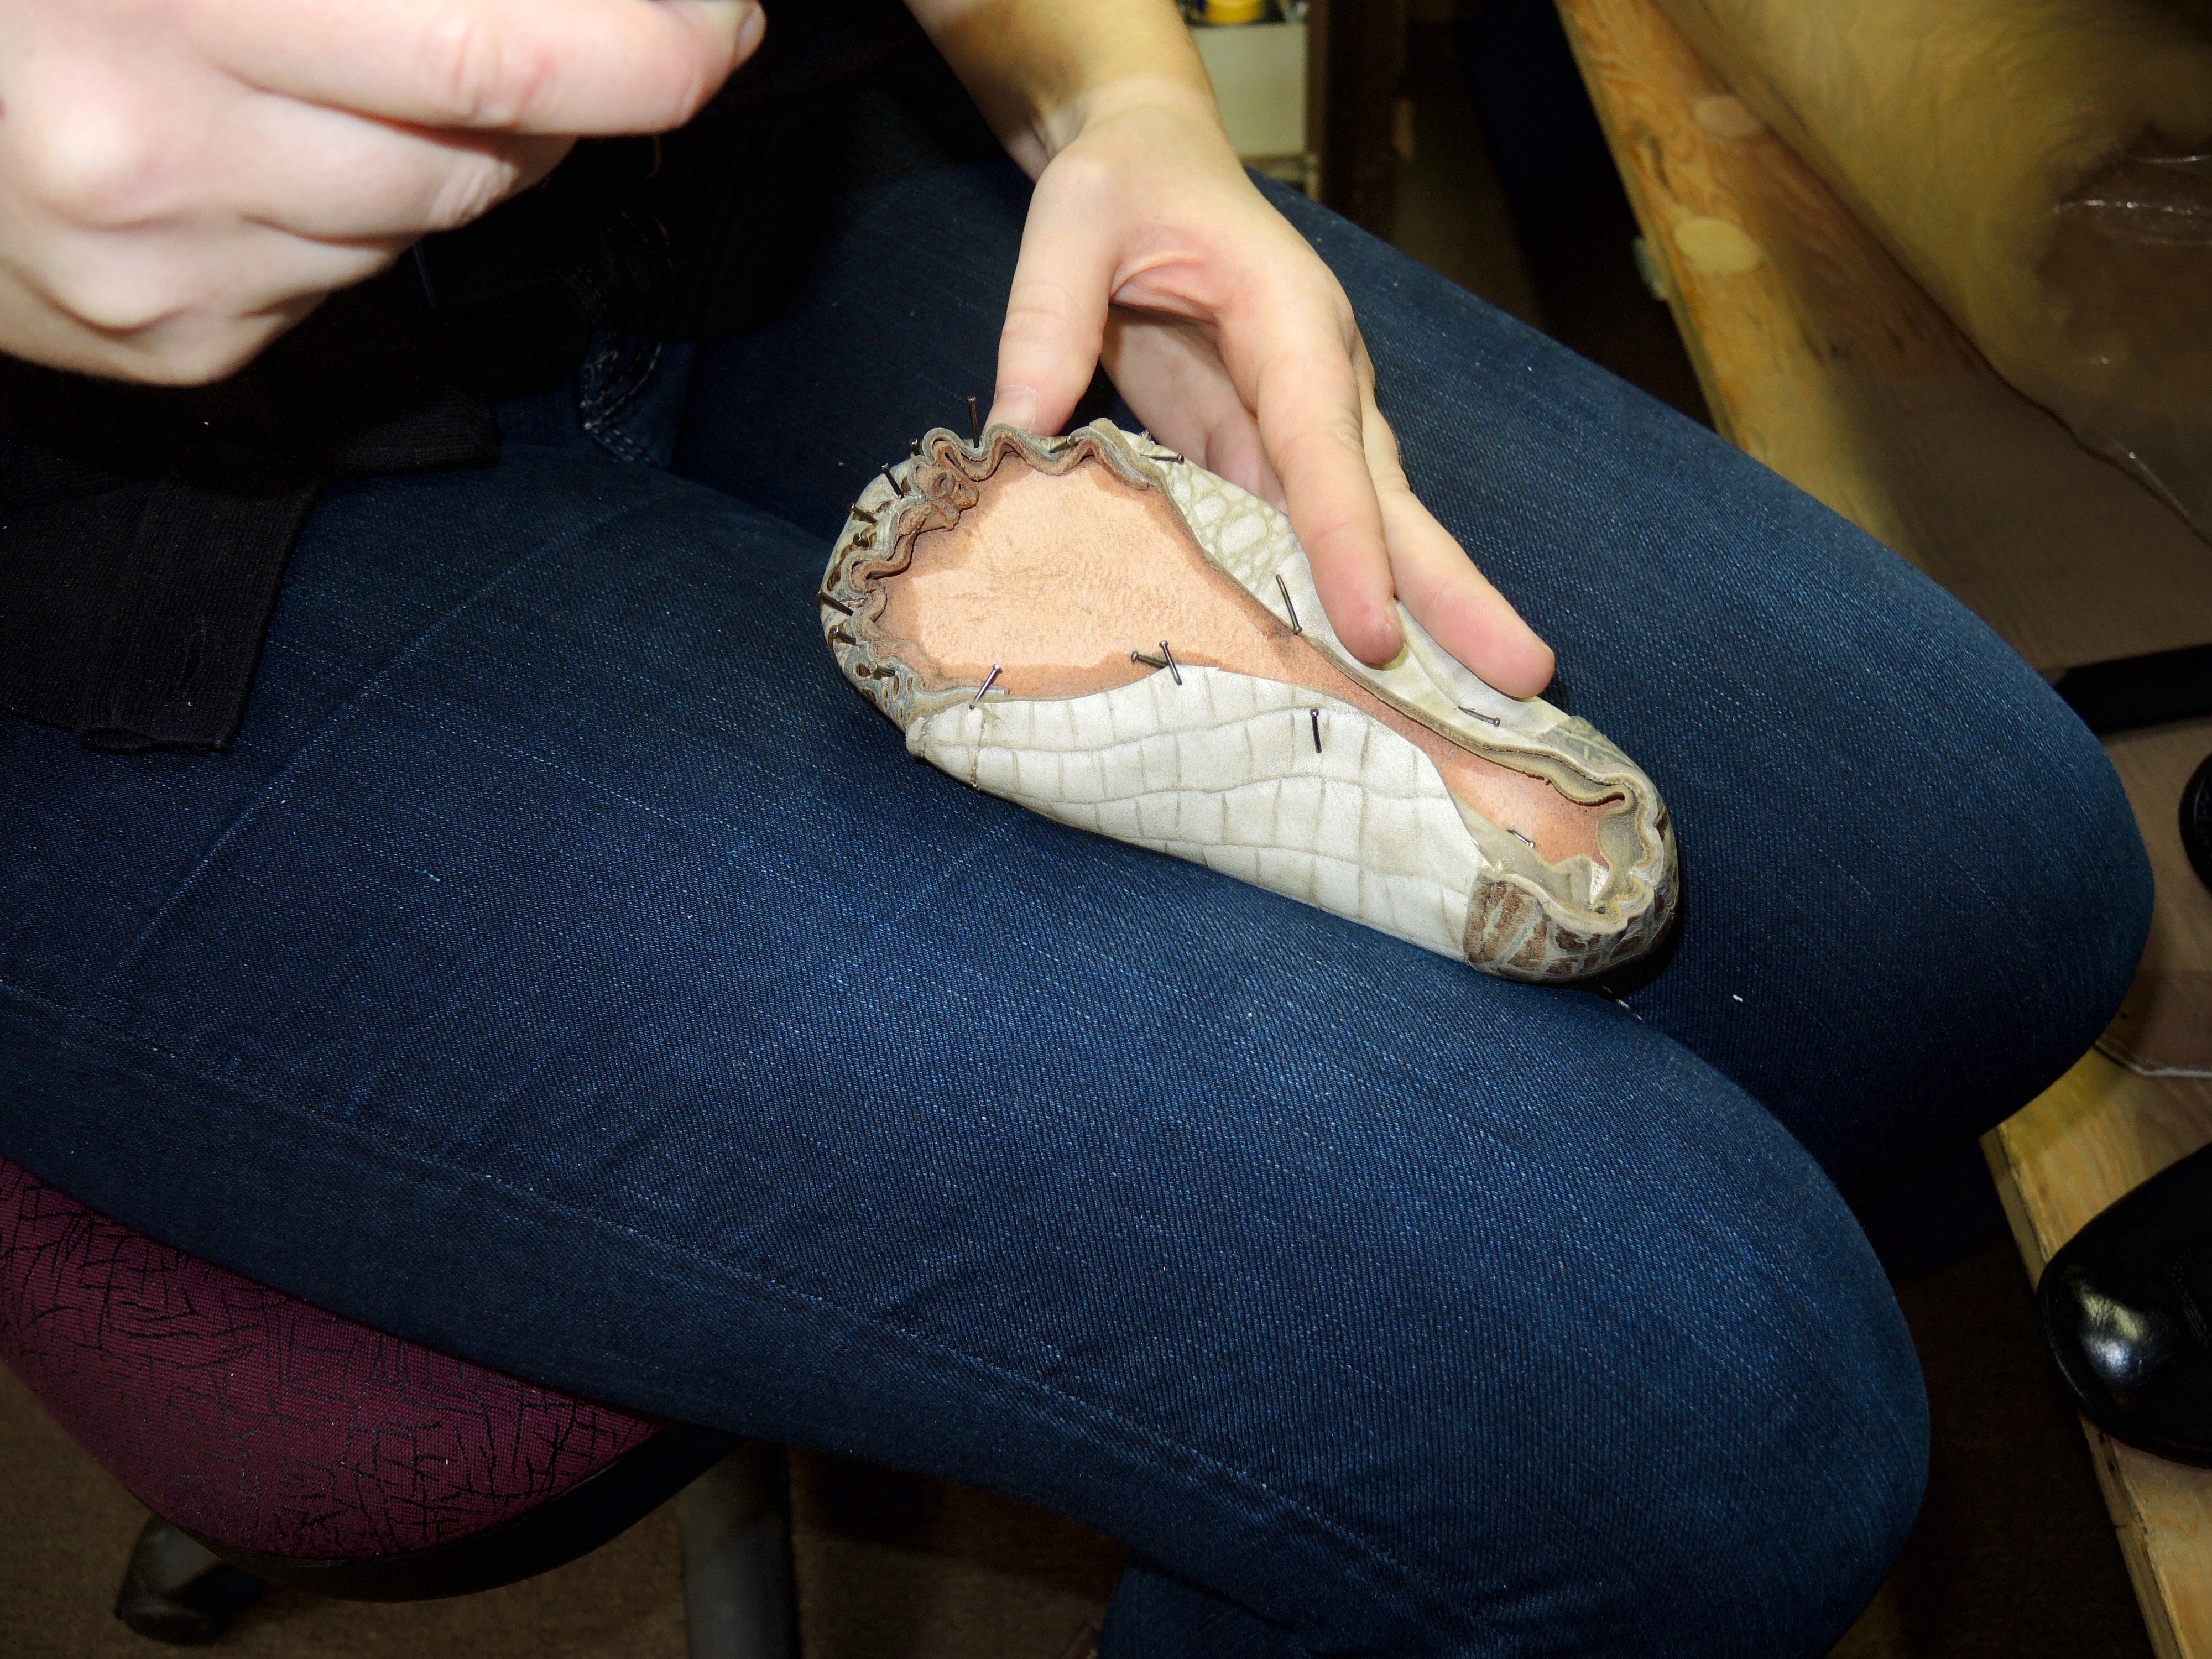
Practicum Bronwyn Pel makes smaller and smaller pleats in the leather around the toe, securing it all with nails.
Step Four:
Start on the other foot. Make sure the left boot matches the right!
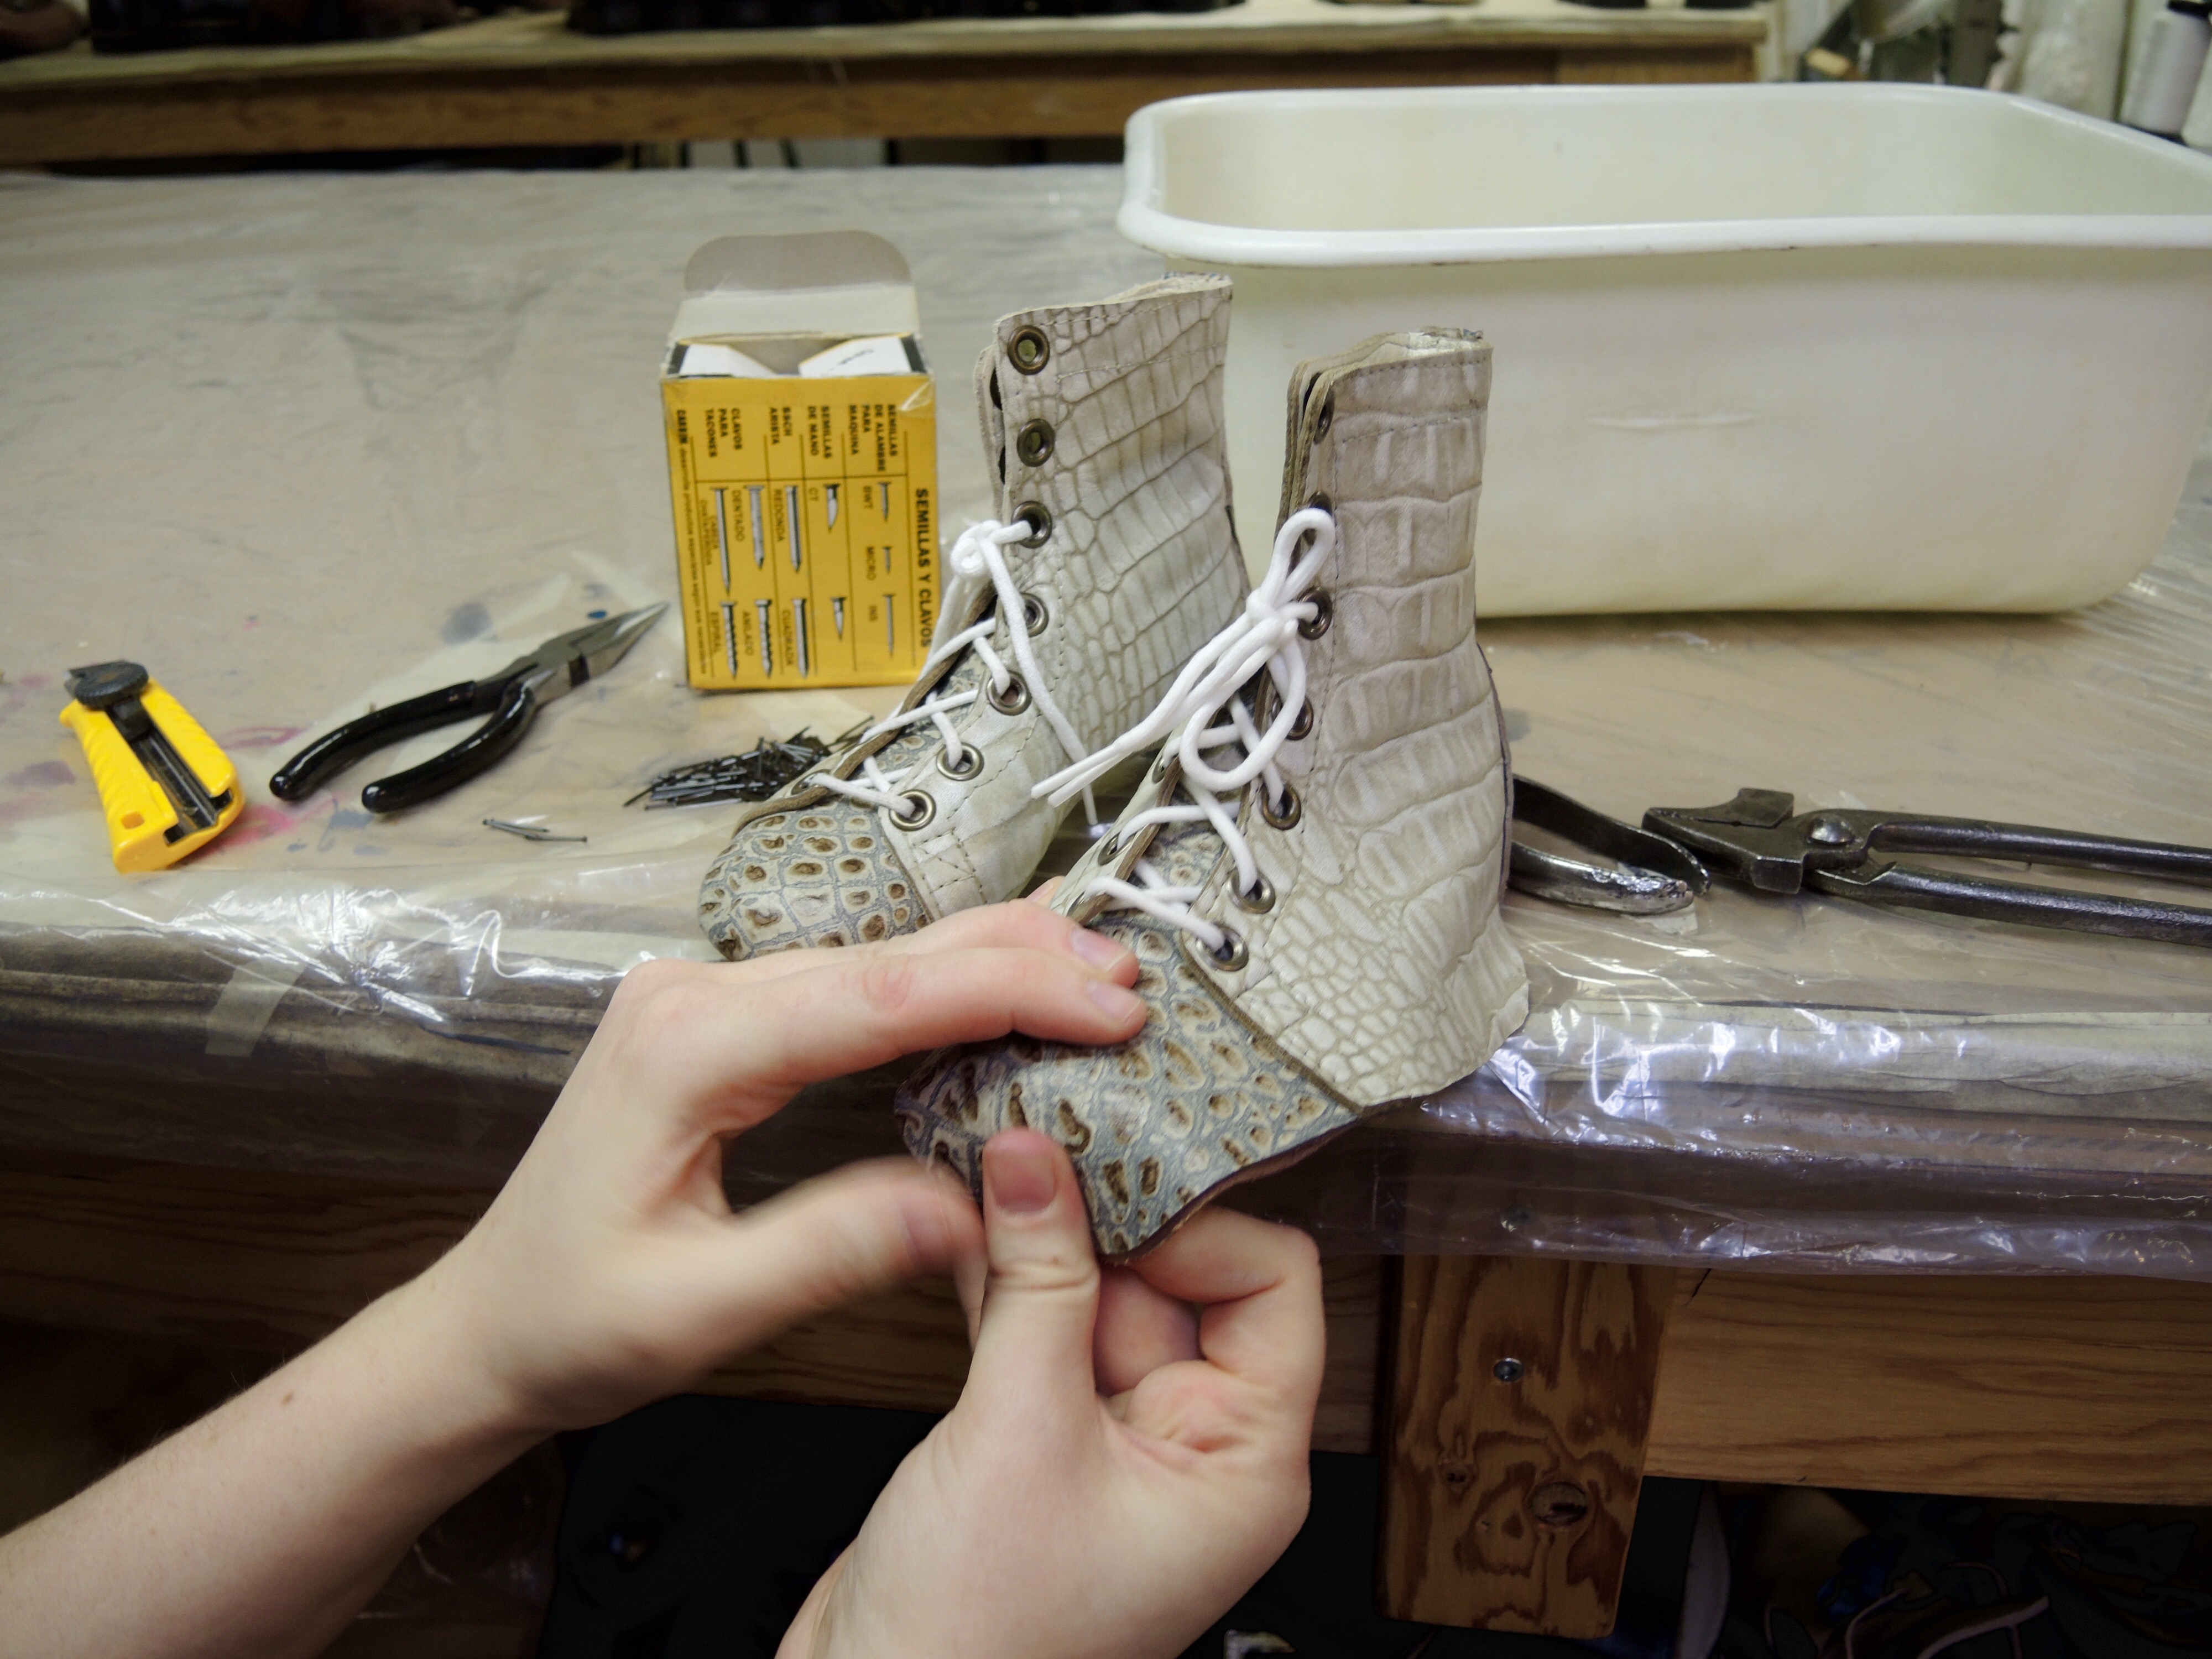
With the left boot complete and ready to dry, the right boot must be made to match. Nobody wants to wear mis-matched boots!
Once both shoes have been pre-lasted, they need to dry overnight and will have the soles attached the next day.
With the training, instructing, and taking time to snap some photos, this whole process takes about an hour and a half to complete for one pair of kids' size 8 1/2 shoes. What must it be like working on a big show where all of the cast need custom shoes, and all with much bigger feet? "When I do this mass-production, like at Stratford, it takes me about 10 minutes per shoe," says Karen. That's 20 minutes per pair, or about 24 pairs of footwear per day, by my calculations. That is an impressive amount of footwear.
One thing I do have to ask before I go, "What exactly is a cordwainer, Karen?" The cordwainer smiles as she replies, "It's a person who makes shoes. Cobblers repair shoes, I make them from scratch."
So there you go. Bronwyn learned how to pre-last today, and I learned a new word. These boots were made for more than just walking.
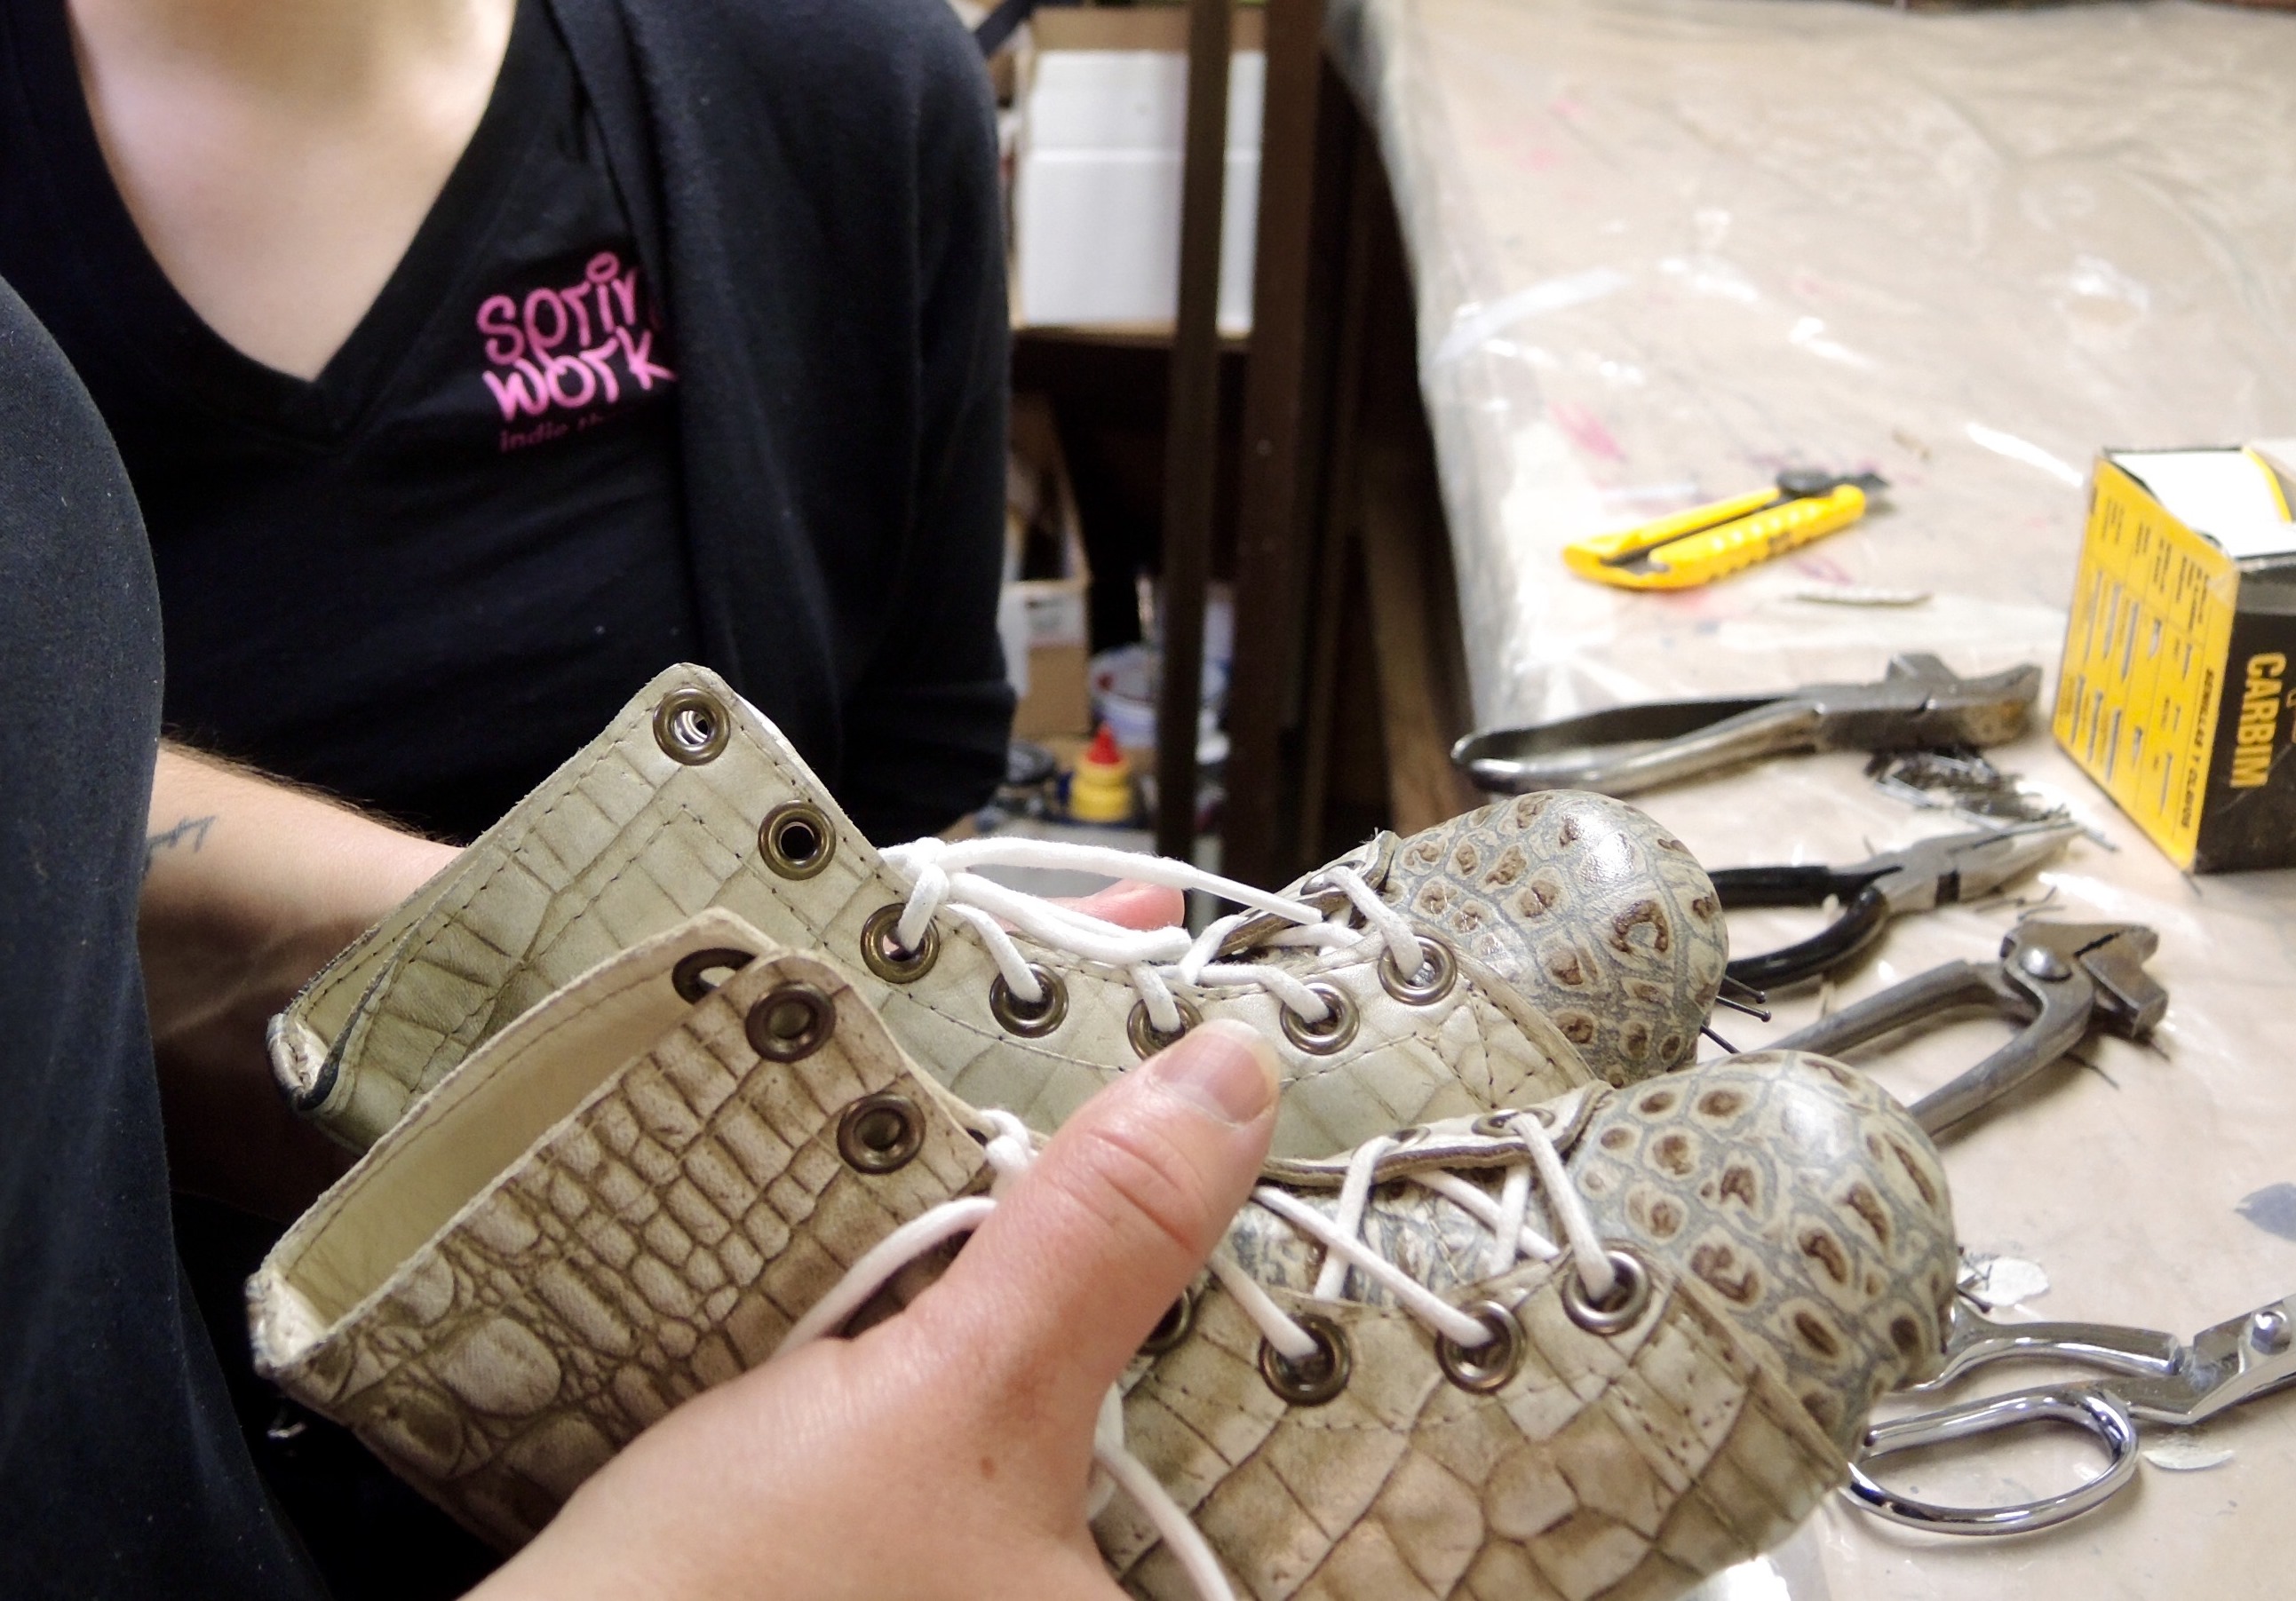
The final product: both boots pre-lasted and ready to dry.